


 Achy Muscles
 Arthritis, Bursitis & Tendonitis
 Back Pain
 Fibromyalgia
 Foot & Lower Leg Pain
 Joint Pain
 Knee Pain
 Neck Pain
The Benefits of Yoga
If you suffer from sciatica-related pain, you know just how intrusive and sometimes debilitating it can be. Conditions like piriformis syndrome and herniated disk are common causes of sciatica, as they can compress or irritate the sciatic nerve and lead to pain, numbness, or tingling. Plus, engaging in rigorous physical activity can further aggravate your discomfort, making it difficult to stay active.
Yoga offers a more gentle way to stay physically active — incorporating both stretching and relaxation techniques in order to reduce tension, loosen the muscles, increase flexibility and release endorphins. Yoga can also help release tension in the lower back and hips, relieve pain, and provide sciatica relief by targeting the muscles and nerves affected by sciatica.
Tips for Practicing Yoga with Sciatica
When practicing yoga with sciatica, it’s important to listen closely to your body and make adjustments to avoid aggravating sciatic pain. Start with gentle yoga poses and gradually increase the intensity as your body allows. Stretching the piriformis muscle, which can often contribute to sciatic nerve pain, is especially helpful—try poses like Reclining Pigeon Pose where you can gently pull your left knee toward your right shoulder to relieve tension along the sciatic nerve.
In poses such as Child’s Pose or Bridge Pose, keep your knees bent and feet flat on the floor to relieve pressure on your lumbar spine and support your lower back. Avoid deep forward bends or intense twists, as these can irritate the sciatic nerve and worsen sciatica pain. Instead, focus on gentle stretches like Cat Pose which can help relieve sciatica pain without putting too much strain on your lower back.
Proper spinal alignment is key in yoga poses for sciatica. Engage your core muscles to support your lumbar spine, and avoid locking your knees or hips. Make sure your weight is evenly distributed on both legs, and if you feel any sharp pain or discomfort, stop immediately and rest.
Props can be incredibly helpful for deepening your stretches and supporting your body. For example, use a strap to gently pull your right leg toward your left shoulder in Reclining Pigeon Pose. Remember to breathe deeply and slowly, focusing on releasing tension and encouraging healing throughout your yoga practice.
Be patient and gentle as you practice yoga for sciatica. Consistency is key, and over time, you may notice improvements in your sciatica pain relief and overall well-being. If you’re experiencing persistent or severe sciatic pain, consult with a healthcare professional or physical therapy expert to develop a personalized yoga therapy plan that addresses your unique needs and supports your healing process.
Keep reading to find 5 easy yoga poses that can help deal with sciatica-related pain.
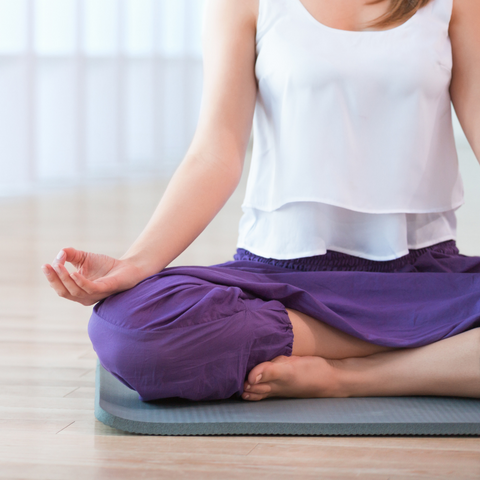
1. Half Lord of the Fishes Pose (Seated Twist)
-
Begin in a comfortable seated position on the floor with your legs straight out in front of you. Bend your knees and slide your left foot under your right leg to the outside of your right hip. Lay the outside of your left leg on the floor and step your right foot over the left leg. Your right knee will point to the ceiling.
-
Exhale and twist toward the inside of your right thigh. Set your left arm on the outside of your right thigh and your right arm on the floor behind your right side. Pull your torso and right thigh together, keeping your upper body aligned and engaged to avoid strain.
-
Concentrate on lengthening your tailbone into the floor and twist gently while elongating your neck and spine. This twist helps mobilize the spine and can relieve tension along the nerve roots that exit the spinal cord.
-
With each exhalation, you can attempt a deeper twist by gently drawing your knee closer to your body, but avoid over-rotating the upper body to prevent strain. Stay for 30 seconds to 1 minute. Return to the starting position. Repeat on the left side.
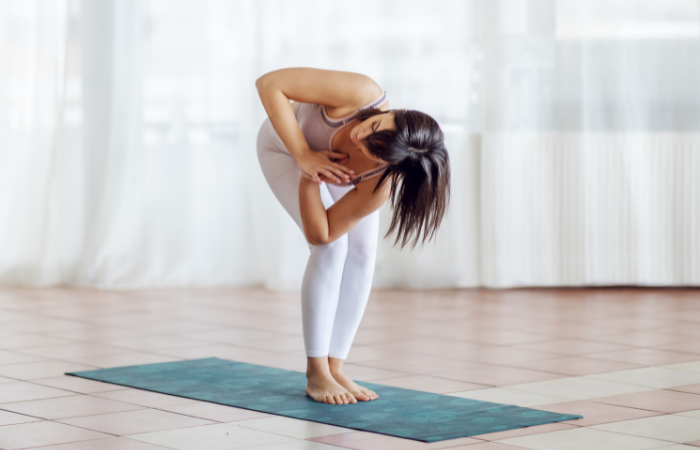
2. Revolved Chair Pose
-
Begin in an upright standing position. Inhale and reach your arms overhead. Exhale and shift your weight to your heels, bending your knees.
-
Bring your palms together in front of your chest. Lengthen your spine, shift your weight onto your heels, and bend your knees as if you are sitting in an invisible chair. Keep your feet hip width apart for stability.
-
Twist your spine and press your left arm against the outside of your right thigh, engaging your upper arms to deepen the twist.
-
Hold for a few breaths, focusing on steady breathing. Then exhale, unwind and switch sides.
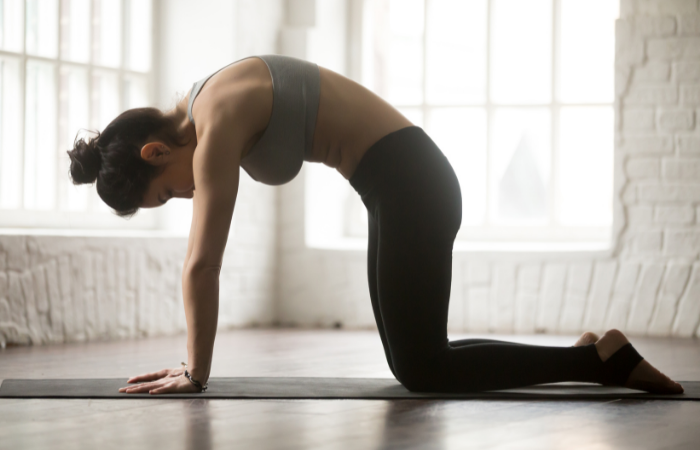
3. Cat Pose
-
Begin on the floor on all fours. Flatten your back and place your palms firmly on the floor.
-
As you inhale, begin to tilt your head back, while pushing your navel towards the ground and raising your tailbone.
-
Hold and take several deep breaths, allowing your body to relax with each deep breath.
-
Exhale and drop your chin to your chest while arching your back as much as you are able. Hold.
-
Repeat five or six movements.
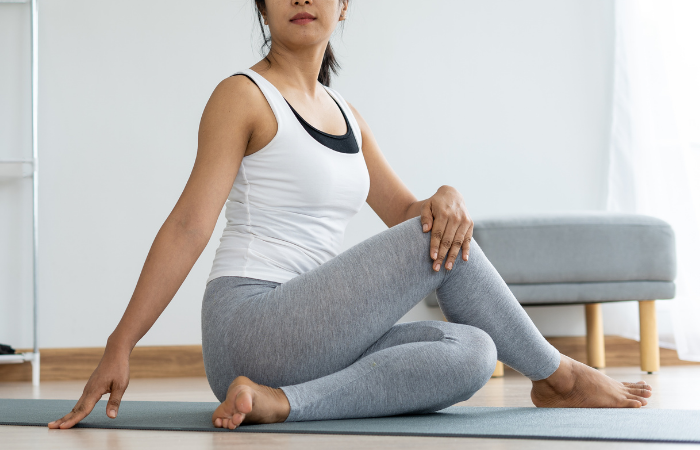
4. Resting Pigeon Pose
-
Begin in the cat pose. Outstretch your right leg behind you with the legs extended so that it is parallel to your mat. Bend your left knee and flatten the outside of your left thigh to the ground. Align your hips and fold at the hip crease to protect the hip joint. Your left foot should be in front of your right hip, keeping the left hip squared and the left toes flexed for proper alignment.
-
Lower both hips to the floor and place your hands alongside your hips. Hold for 2-4 breaths.
-
Walk your arms forwards and lean forward from the hip crease, stretching over your front leg until your forehead rests on the floor. Breathe into the sensations as you stretch your hips and spine.
-
Take 4 breaths, release, and repeat on the other side.
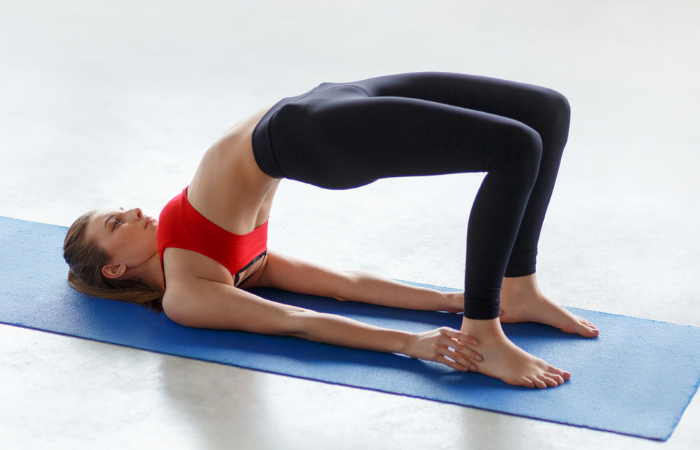
5. Bridge Pose
-
Lie on the floor and bend your knees with your heels as close to your lower back as you are able, keeping your feet hip width apart for proper alignment.
-
Exhale and press your hands and feet into the floor while pushing your tailbone upwards, firming the buttocks, and slowly lift or slowly raise your buttocks off the floor in a controlled motion.
-
Lengthen your tailbone towards the back of your knees and clasp your hands together below your pelvis with palms facing each other or down for stability, extending through your arms.
-
Hold for 30 seconds to 1 min and release with a long exhale, lowering your spine back to the floor.
Manage sciatica-related pain comfortably from home
We hope that our 5 yoga poses for sciatica-related pain helps you find ways to stay active safely, so you can feel more like yourself and do the things you love again.
Disclaimer: DR-HO'S content is intended for informational purposes only and should not be taken as medical advice. Please consult a certified medical professional for diagnosis and treatment recommendations.